


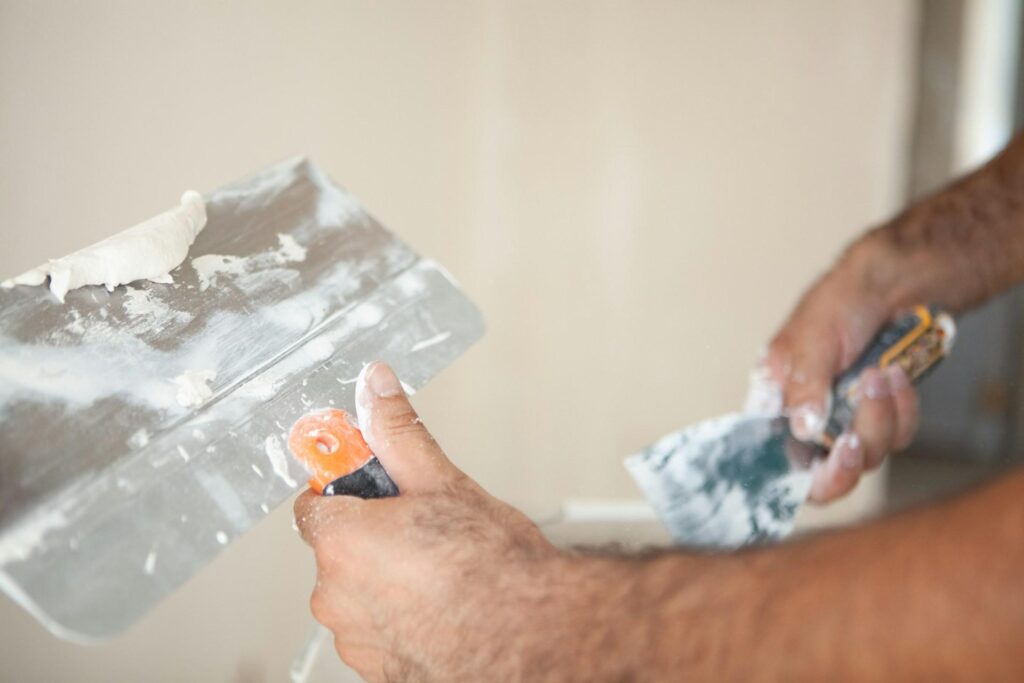
Walls take a surprising amount of daily wear. Moving furniture, hanging pictures, accidental bumps, moisture, and normal settling can all leave behind cracks, dents, and holes that make a room look tired. Fortunately, most drywall damage is easier to repair than many homeowners expect.
With the right tools, a little patience, and proper preparation, you can restore damaged walls so they blend seamlessly with the surrounding surface. Whether you’re filling a tiny nail hole or repairing a larger section of drywall, understanding the correct repair method makes all the difference.
This guide explains how to assess wall damage, choose the right repair materials, repair different types of damage, and prepare your walls for a smooth, professional-looking finish.
Understanding Common Types of Wall Damage
Before grabbing a putty knife, take a close look at the damage. Different problems require different repair techniques.
The most common types of drywall damage include:
- Nail and screw holes
- Hairline cracks
- Stress cracks around doors and windows
- Small dents from impacts
- Medium-sized holes caused by door handles or accidents
- Large holes from plumbing or electrical work
- Water damage and soft drywall
- Peeling tape at drywall seams
Identifying the cause helps determine whether a simple patch is enough or if the underlying issue also needs attention.
Gather the Right Repair Tools
Having the proper supplies makes repairs quicker and produces better results.
Basic drywall repair tools include:
- Putty knife
- Utility knife
- Sanding sponge or fine-grit sandpaper
- Joint compound
- Spackling paste
- Drywall patch kit
- Drywall tape
- Drywall screws
- Dust mask
- Primer
- Paint
For larger repairs, you may also need a drywall saw, replacement drywall panel, measuring tape, and a drill.
How to Repair Small Nail Holes
Nail holes are the easiest wall repairs.
Step 1: Clean the Area
Remove loose paint or crumbling drywall around the hole.
Step 2: Apply Spackling Compound
Use a putty knife to press spackling paste firmly into the hole.
Scrape away excess material so it sits flush with the wall.
Step 3: Let It Dry
Follow the manufacturer’s recommended drying time.
Step 4: Sand Smooth
Use fine-grit sandpaper until the repair feels level.
Step 5: Prime and Paint
A coat of primer prevents flashing, where repaired areas show through fresh paint.
Fixing Hairline Cracks
Small cracks often appear as homes naturally settle.
Rather than simply covering the crack, prepare it properly for a longer-lasting repair.
Widen the Crack Slightly
Using a utility knife, gently widen the crack into a shallow V-shape.
This gives the joint compound a better surface to bond with.
Fill the Crack
Apply joint compound using smooth, even strokes.
For slightly wider cracks, reinforce the repair with drywall tape before applying another thin coat of compound.
Allow each coat to dry completely before sanding.
Repairing Dents and Surface Damage
Minor dents from furniture or everyday impacts usually require only a thin layer of joint compound.
Spread the compound beyond the damaged area to feather the edges into the surrounding wall.
After drying, sand lightly until perfectly smooth.
If the dent remains visible, apply another thin coat instead of one thick layer.
Thin applications dry faster and produce cleaner results.
Repairing Medium-Sized Holes
Holes up to several inches wide often benefit from self-adhesive mesh patches.
Clean the Opening
Remove loose drywall and rough edges.
Apply the Patch
Center the mesh patch over the hole.
Cover with Joint Compound
Spread compound across the entire patch, feathering the edges several inches beyond the repair.
Allow it to dry completely before sanding.
Most repairs need two or three thin coats to become invisible.
Repairing Large Drywall Holes
Larger holes require replacing a section of drywall rather than simply filling the opening.
The process generally includes:
- Cut the damaged section into a neat square.
- Install backing supports behind the opening.
- Cut a matching drywall patch.
- Secure the patch with drywall screws.
- Tape the seams.
- Apply multiple coats of joint compound.
- Sand between coats.
- Prime and paint.
Taking time with each layer creates a repair that blends naturally into the surrounding wall.
How to Match Wall Texture
One of the biggest challenges isn’t repairing the drywall—it’s matching the existing texture.
Common wall textures include:
- Smooth finish
- Orange peel
- Knockdown
- Skip trowel
- Popcorn texture (primarily ceilings)
Texture repair products are available in aerosol cans and premixed compounds.
Practice on scrap cardboard before applying texture to the wall.
Small adjustments often make the difference between a visible repair and one that disappears completely after painting.
Sanding Without Damaging the Repair
Sanding is where many DIY repairs succeed or fail.
Use gentle pressure and work slowly.
Avoid sanding directly into the drywall paper.
Instead, feather the edges until your hand can no longer feel the transition between the repaired area and the wall.
Running your hand across the repair often reveals imperfections that your eyes miss.
Preparing the Wall for Painting
Never skip primer after drywall repairs.
Fresh joint compound absorbs paint differently than finished drywall, causing uneven color and sheen.
For the best finish:
- Remove all dust after sanding.
- Apply a quality drywall primer.
- Allow the primer to dry completely.
- Paint using the same finish as the existing wall.
- Blend paint into the surrounding area if only touching up a small section.
Proper preparation produces a more uniform appearance.
Common Drywall Repair Mistakes to Avoid
Many visible repairs happen because of simple mistakes rather than poor materials.
Watch out for these common errors:
- Applying joint compound too thickly
- Rushing drying times
- Skipping sanding between coats
- Forgetting primer
- Using the wrong repair product
- Ignoring water damage
- Painting before repairs fully cure
- Leaving rough edges around patches
Patience usually delivers better-looking results than speed.
When Wall Damage Requires Professional Help
While many drywall repairs are suitable for DIY projects, some situations deserve professional attention.
Consider hiring a professional if you notice:
- Large areas of water damage
- Mold growth
- Structural cracks
- Repeated cracking in the same location
- Sagging ceilings
- Extensive drywall replacement
- Fire damage
These problems often involve hidden issues that extend beyond the drywall surface.
Tips for Longer-Lasting Wall Repairs
Simple habits help keep walls looking their best for years.
- Install door stops to prevent handle damage.
- Use proper wall anchors for heavy items.
- Address plumbing leaks immediately.
- Control indoor humidity.
- Inspect walls regularly for early signs of cracking.
- Repair minor damage before it grows larger.
Preventive maintenance often saves both time and money.
Frequently Asked Questions
Can I paint directly over drywall compound?
No. Always apply primer first to create an even surface and improve paint adhesion.
What’s the difference between spackle and joint compound?
Spackle works well for small holes and dents, while joint compound is better for larger repairs, seams, and multiple-layer applications.
How long should drywall compound dry?
Drying times vary by product, humidity, and thickness, but most compounds need several hours to 24 hours before sanding.
Why does my repair still show after painting?
Visible repairs usually result from inadequate sanding, skipped primer, uneven texture, or insufficient feathering around the patch.
Conclusion
Repairing drywall doesn’t require advanced construction skills, but it does reward careful preparation and attention to detail. Whether you’re fixing a tiny nail hole, smoothing out a dent, or patching a larger opening, using the right materials and allowing each step to dry properly leads to a cleaner, longer-lasting result. Taking the time to feather edges, sand carefully, match the wall texture, and apply primer before painting helps create repairs that blend naturally into the surrounding surface. By understanding the most common types of wall damage and following proven repair techniques, homeowners can keep their walls looking fresh, protect their home’s appearance, and avoid more costly repairs in the future.